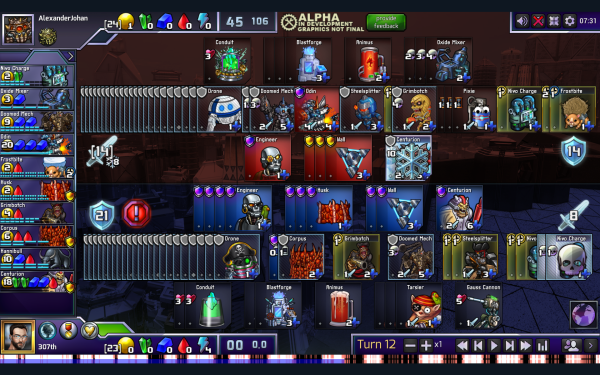
This is part 6 of a series on Chill. Parts 1, 2, 3, 4, 5. So, we've covered most of the important parts of Chill. The last thing we're going to cover is fake threat. When you're trying to defend against Chill, a problem you'll have is that you can't trust the breach warning. In... Continue Reading →
Chill V: Defending Against Threat With Vigilance
This is part 5 of a series on Chill. Parts 1, 2, 3, 4, 6. In part IV, we talked about defending against threat, and how the problem with defending Chill fully is that they will just hold their Chill. When they do this, they're using the threat from their Chill to force out a... Continue Reading →
Chill IV: Defending Against Threat with Gambits
This is part 4 of a series on Chill. Parts 1, 2, 3, 5, 6. So, let's say our opponent has a soon-to-be-finished Endotherm Kit pointing at us. We're going to have a hard time defending this. Either we don't defend against it, and they use it to breach us, or we do defend it,... Continue Reading →
Chill III: Defending Against Chill: The Easy Bits
This is part 3 of a series on Chill. Parts 1, 2, 4, 5, 6. In part 1, we talked about the four uses of Chill, and in part 2, we talked about different types of Chill and how the activation cost (AC) of a Chill unit is very important in how it plays. Now... Continue Reading →
Chill II: Different Types of Chill
This is part 2 of a series on Chill. Parts 1, 3, 4, 5, 6. One of the reasons that it's hard to make guides on Chill is that the different Chill units play very differently. If they all worked the same, just with the numbers tweaked, writing a guide would be easy. For example,... Continue Reading →
Chill I: Why is Chill Good?
This is part 1 of a series on Chill. Parts 2, 3, 4, 5, 6. A lot of this series will be about defending against Chill, but in order to do that, we first need to know a bit more about what it is that we're defending against. Why are Chill units so good in... Continue Reading →


